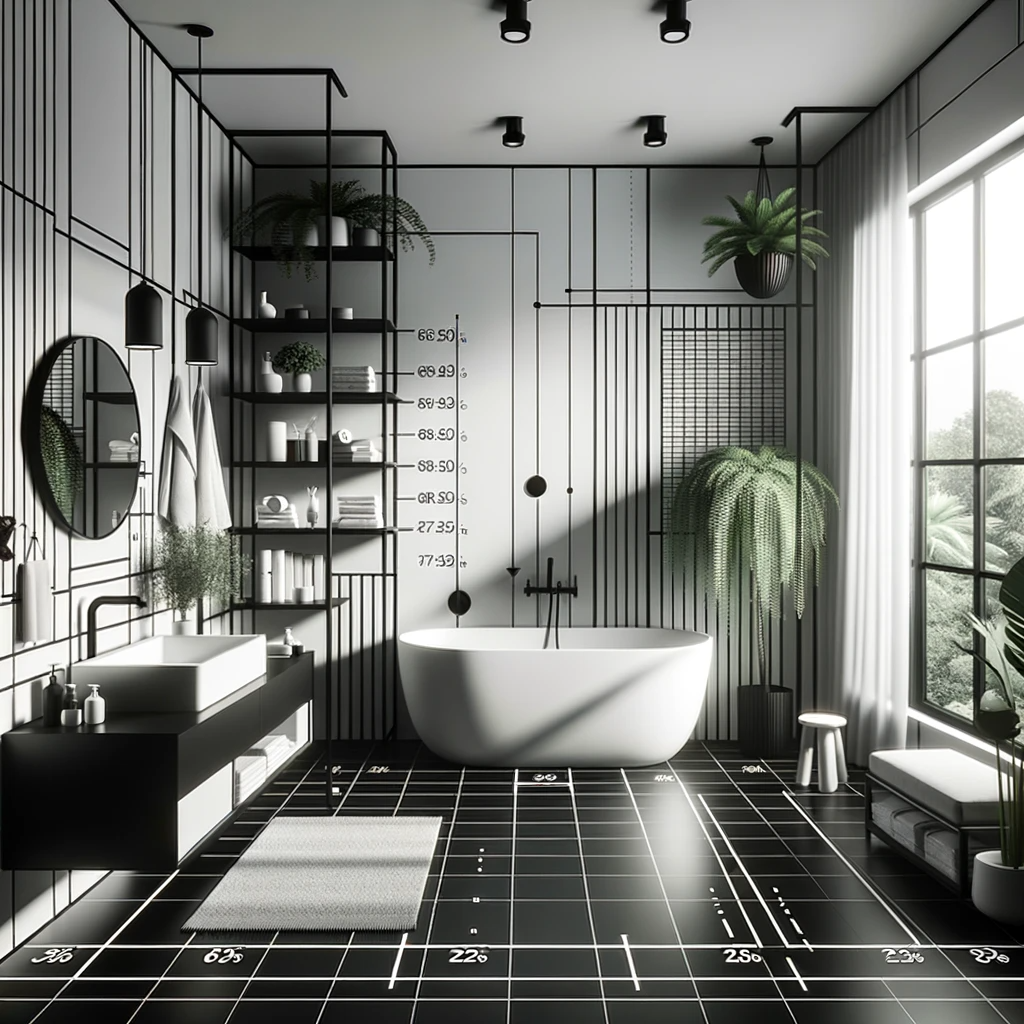
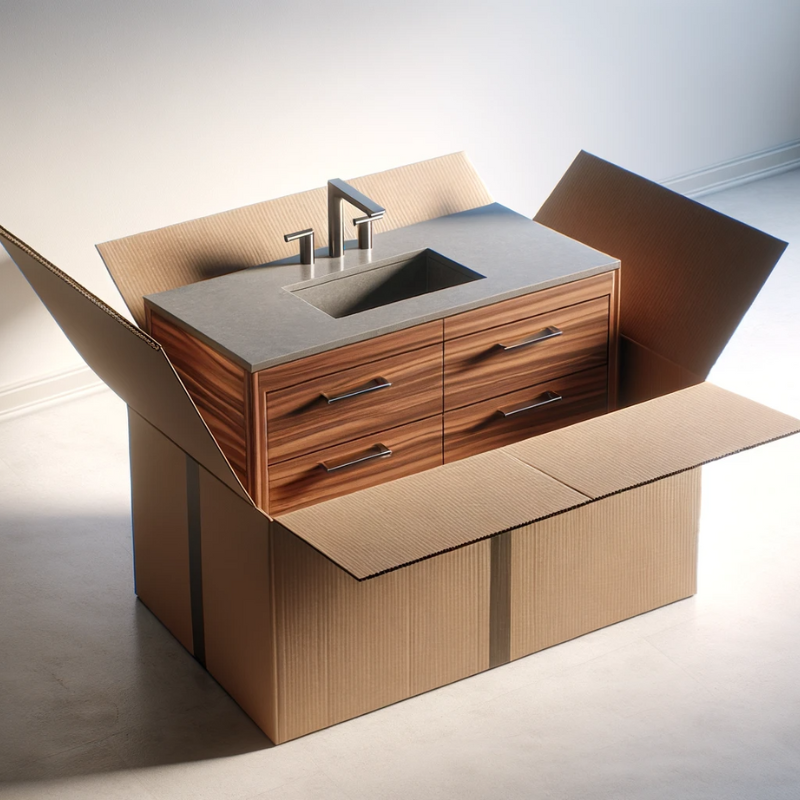
Suspended furniture is increasingly adopted in bathrooms because of its multiple advantages. Here are the main reasons:
- They create an open space at ground level, whilst providing clever storage solutions, which is particularly beneficial in tight spaces. These pieces of furniture can include various elements such as tall or low cabinets, cupboards or suspended vanity units.
- Cleaning is made easier by the absence of feet, allowing easy access under the furniture.
- They bring a modern and elegant touch to bathroom decoration thanks to their clean and modern appearance.
However, before attaching bathroom furniture to the wall, you must ensure that it can support its weight. The ideal is of course to benefit from a load-bearing or brick wall. If in doubt please consult a professional before installation.
Whether you're a DIY enthusiast or a professional installer, fixing a wall-hung bathroom vanity is a useful skill to master. This guide will provide you with all the necessary steps, from tools to techniques, to ensure a safe and aesthetically pleasing installation.
Necessary material :
- A suspended bathroom cabinet (we have everything you need here ;-)
- Drill
- Anchors adapted to the type of wall (plaster, concrete, etc.)
- Spirit level
- Suitable screws and fixings
- Pencil for marking
- A meter
- A hammer
- Possibly silicone glue as well as a glue gun if the sink plan is to be assembled.
Choice of fixings:
To select the appropriate fixings, it is essential to determine the composition of your wall, as this will influence the choice of screws and plugs required.
- For a solid wall made of stone, concrete block, concrete or brick, choose expansion or chemical anchors.
- Concerning a hollow wall, particular attention must be paid to the solidity and any reinforcements necessary to support the weight of the furniture and its contents. If adequate reinforcement is not available, additional reinforcement may be necessary.
- For a plasterboard wall, Molly type anchors are generally recommended.
The choice of the size of the screws and dowels will mainly depend on the total weight that the furniture will represent once filled. Usually consult the packaging of the ankles to know the maximum weight supported.
Preparation :
- Choosing the location - Determine the ideal location for your furniture. Consider existing plumbing and space requirements. It is necessary that the wall can support the weight of the furniture, but you must also position the furniture where it will not obstruct passage and where nothing will hinder the opening of doors or drawers.
- Safety - You must ensure that this wall does not hide any electrical circuits or piping.
- Protection – After choosing the wall and location, and gathering your tools, it is a good idea to cover the floor to protect it from possible damage. It is also advisable to protect the surrounding area and close the door to minimize the spread of dust.
- Water - When installing a vanity unit, it may be necessary to turn off the water supply. Locate the water supply to your home and close the valve to stop the flow. Don't forget to open a tap to empty the remaining water circuit.
- Marking - Use a pencil to mark the fixing points on the wall. Make sure the furniture will be level using the spirit level.
Fixation :
The methods set out below in the section dedicated to fixing the basin top are applicable to all types of wall-hung bathroom furniture, while noting that the mounting height may vary depending on the furniture model.
- Initial assembly of the sink countertop: If the sink countertop requires assembly, start with this relatively simple step. It involves installing the drain and the taps, preparing the connections for the water inlets. It is crucial not to confuse the hot water supply with that of cold water to avoid having to start again.
- Fixing the vanity top: when installing a wall-mounted vanity unit, it must be fixed at a height between 85 and 90 cm from the floor. The European standard recommends a height of 83 cm from the ground to the drain. To do this :
- Position the fixing brackets on the furniture, supplied with it.
- Use a spirit level to precisely draw the fixing marks on the wall.
- Drill the corresponding holes and insert the dowels.
- Attach the legs to the wall.
- You can now place your furniture on the fixings and ensure its stability.
Additional Tips:
- Regularly check that the furniture is level before, during, and after fixing.
- For difficult walls, consider special fixings or consult a professional.
Maintenance :
- Periodically check that the screws are tight and that the furniture is not moving.
With the right tools and a precise method, fixing a suspended bathroom cabinet is within everyone's reach. This guide has given you the essential steps to successfully complete your installation. For a visual demonstration, consider viewing tutorial videos or detailed diagrams online.


Leave a comment
This site is protected by hCaptcha and the hCaptcha Privacy Policy and Terms of Service apply.